Contribute to this page on GitHub
Info
The documentation on this website only refers to the latest version of the script API, which was introduced in LiquidBounce b72. All new scripts should use it. However, if you need the old documentation, you can still find it in this GitHub repository.
ScriptManager
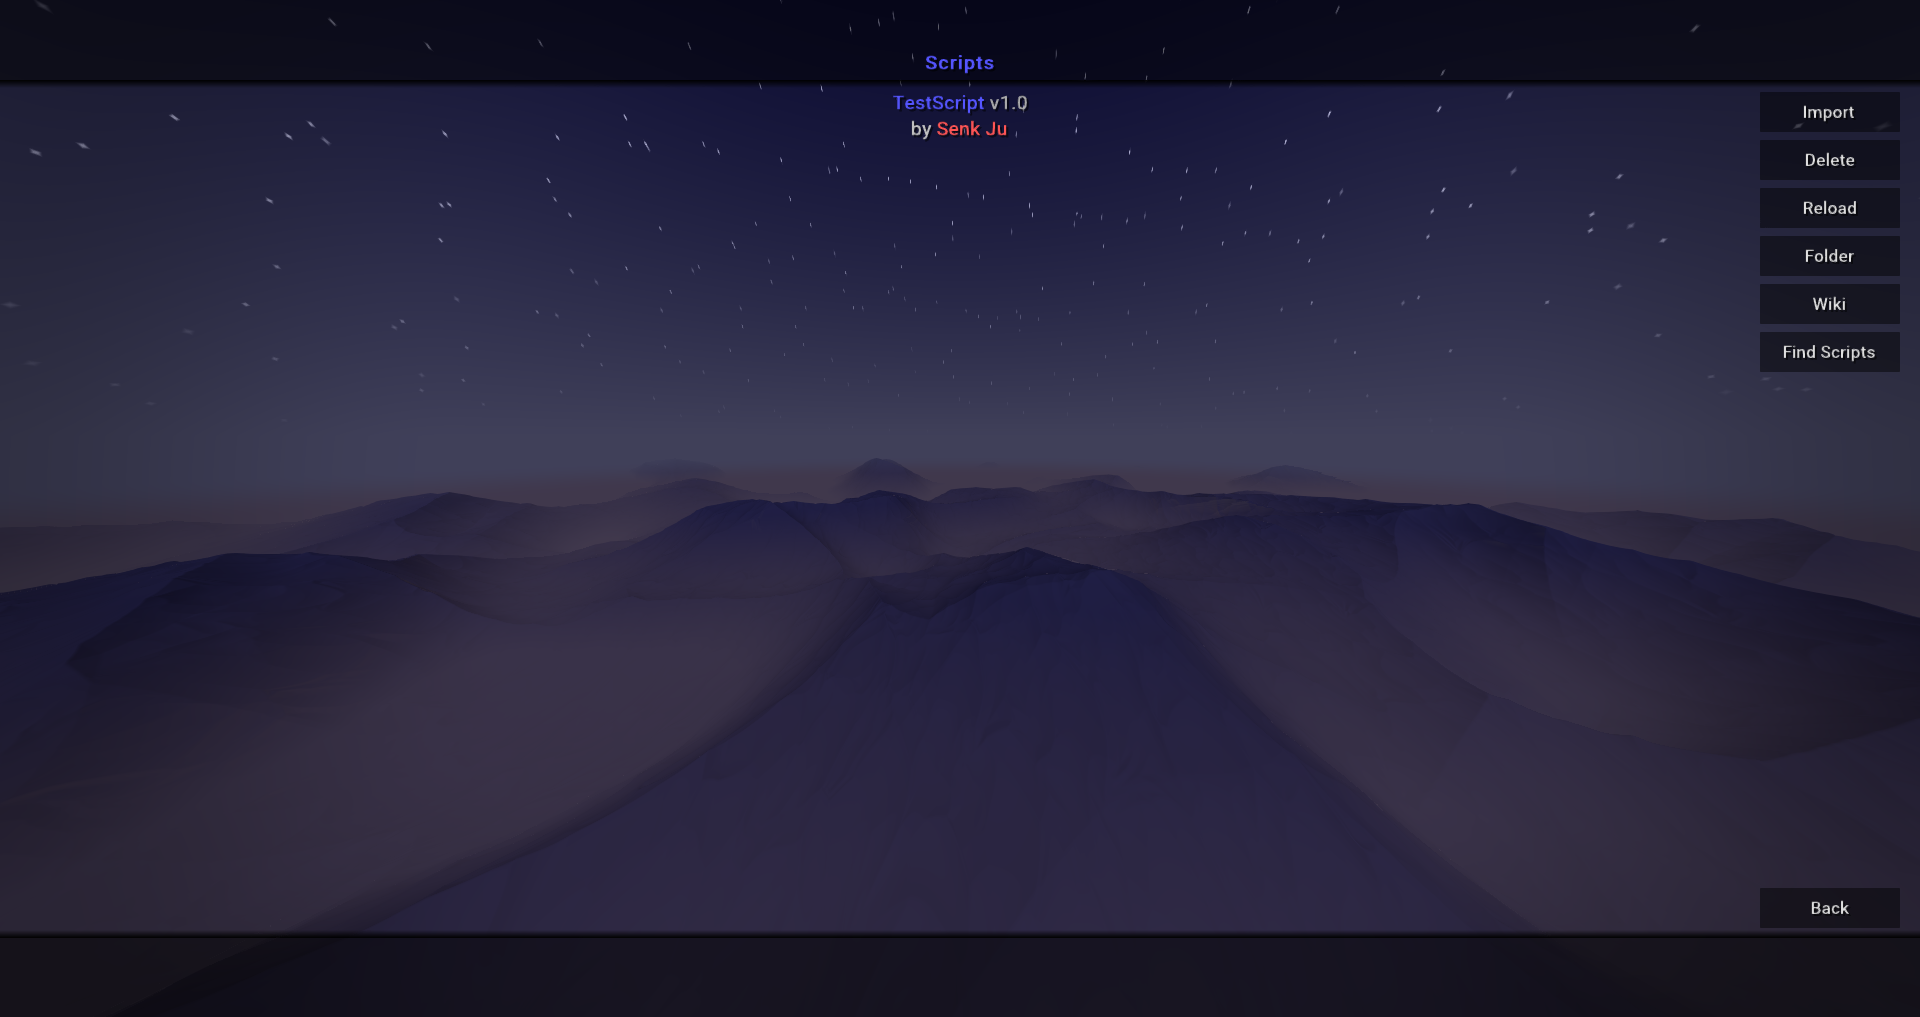
The ScriptManager serves as an overview of all currently installed scripts, their authors and installed version. Additionally, it allows the user to import additional scripts and to delete already installed ones. The import button can import single JavaScript files as well as zip archives. The latter is especially convenient if the project consists of multiple files.
Getting started with developing
LiquidBounce's script API is based on Nashorn, an ECMAScript (in the following referred to as JavaScript) engine written entirely in Java. Nashorn compiles JavaScript to regular Java bytecode and subsequently loads it dynamically into the Java runtime. The outstanding feature of this engine is that (almost) all Java features can be accessed directly. Thus, it is also possible to access Minecraft classes, methods and fields very easily, which is why the API should immediately look familiar to anyone who has ever worked with MCP.
First create a file for your script with the extension .js (eg. myscript.js). This file will contain all your code. In the following we will write a simple script that will display a message in the chat every time it is enabled.
Registering a script
In the first line of the main file of each project the targeted API version has to be specified. This is done through a magic comment. If this comment is missing, the script is executed with support for the first API version. New projects should always use the latest API version. Currently, the latest version is v2.
/// api_version=2In the following the script is registered with the client. The following information has to be specified: The name of the script, the current version of the script, and an array of people who contributed to the script, the authors.
/// api_version=2
var script = registerScript({
    name: "MyScript",
    version: "1.0.0",
    authors: ["My Name"]
});
Creating a new module
When registering a new module, certain information has to be specified, which is then shown in LiquidBounce's GUIs. The mandatory information consists of a name, a description and a category under which the module should be displayed in the client's ClickGUI / TabGUI. A list of all information that can be specified can be found here.
Registering a module is done as follows:
script.registerModule({
    name: "MyModule",
    category: "Misc", // Movement, Misc, Combat, Fun, Player, Exploit, World, Render
    description: "An example module created with LiquidBounce's script API."
}, function (module) {

});
Here one can see that a variable is passed to the callback function. This variable contains the instance of the created script module, on which events can be registered in the following. The most important events are:
on("enable"): Called every time the module is enabled.on("disable"): Called every time the module is disabled.on("update"): Called every tick (~20 times/s).
A full list of all available events can be found [here](). For example, the onEnable event would look like this in code:
module.on("enable", function() {
    Chat.print("Module enabled");
});
One can see that a callback function is also passed to each event. It is called by the client whenever the condition of the event is satisfied. In this case, when the module is enabled.
The complete code for the script that was explained here step by step looks like this:
/// api_version=2
var script = registerScript({
    name: "MyScript",
    version: "1.0.0",
    authors: ["My Name"]
});

script.registerModule({
    name: "MyModule",
    category: "Misc",
    description: "An example module created with LiquidBounce's script API."
}, function (module) {
    module.on("enable", function() {
        Chat.print("Module enabled");
    });
});
To test the script, launch LiquidBounce, navigate to the ScriptManager, click on the Import button and select the script file you have just created. If you now enter a single player world or join a server and open the ClickGUI, you should find the module you just created under the Misc category. If you enable it, Module enabled should be displayed in the chat.
Similar to modules you can also create commands and your own inventory tabs. You can find more information about this in the documentation.
Examples
On GitHub we've created a repository specifically for the script API. There you can find a collection of useful functions for developing scripts, as well as many examples to help you understand and use as templates.